Introduction
The progression of my Every Day Carry (EDC) venture starts out with what I imagine most people’s journey does. We simply obtain wallets and key chains when we’re younger and simply upgrade and replace those similar items as they wear out or does not meet our needs. The end result could very much be where you find yourself with a George Costanza wallet; my wallet never got to that level but it had some thickness to it. Let’s go through some of my changes and upgrades along this journey.
My first big step
Most of my focus in my life when it comes to EDC was always the wallet. How could can minimize what I carry? Do I really need all these business cards, punch hole cards for food or service, or those lame rewards cards that was very popular (and maybe still so?) back in 2000(?) years. For that solution back then a friend recommend having an entirely different wallet just for those cards and to keep that in your car. That way when you need it you can grab it quickly before you go to whatever place. Also, who cares if it gets stolen? That was the first big step into reducing my EDC.

The next big step
The next big step in minimizing my EDC was from a traditional bi-fold wallet into the newly popular “card wallet.” This was a game changer. I did a lot of research into what was out there at the time and found Ridge Wallet to be exactly what I was looking for. This new idea of cutting out all the wallet bullshit was refreshing. It’s just a couple metal pieces that you toss your ID and cards in, what else do you need? Oh, and it has a money clip or belt (your choice) for those archaic folks that still use cash. What a great design.
Now, here’s the kicker, you put the wallet in your front pocket - not your back pocket! Holy shit! That’s insane! My whole life I just thought I was suppose to use the back pockets for wallets. That’s just where they go. Why didn’t I even think of putting my bi-fold in my front pocket even at it’s thin stage? I have no idea. So much like the evolution from briefs to boxers then to boxer-briefs, I will stick with a front pocket card-like style wallet.


A step but a small one
Now, I’m still going to swear by Ridge Wallet being not only a great wallet but the company seems to continue to add more and more variations and different products so ultimately I’m a fan even though my usage of the product was rather short lived.
Over time I came to realize that the Ridge Wallet itself is rather thick with each of the two slabs being about 2-3 credit card thickness. Then if you have 3-4 cards it’s holding, you might as well be stacking 10 credit cards at this point! I assumed it was due to the RFID blocking tech it had but I later found different companies that started producing a similar wallet but thinner slabs.
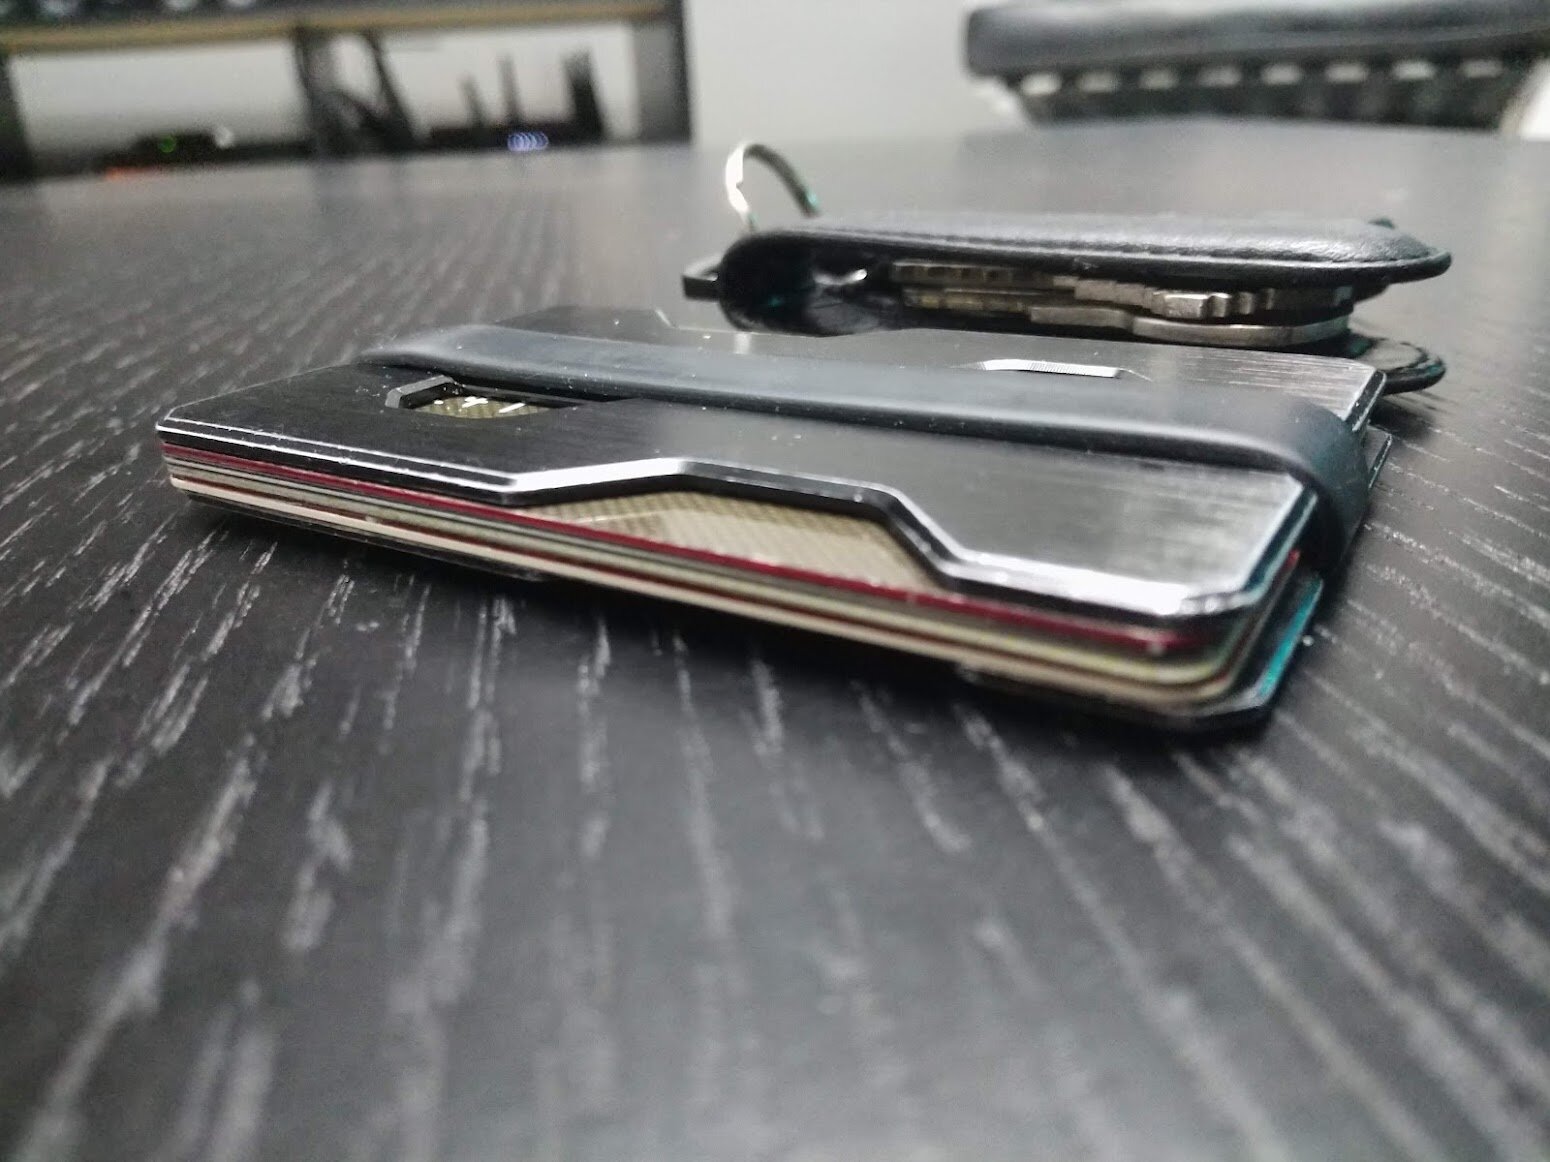
In 2017 I found what I consider my perfect wallet and is my current daily driver (which soon will be replaced). It’s some off-brand seemingly only sold on Amazon called Roco and the only sell one type of Wallet that they call “Minimalist Aluminum Slim Wallet.” It’s almost too simple. At this point, just tossing my cards around a rubber band is not too far off. But of course you don’t want all your cards to fall out when you need to retrieve a card and you want to have easy access to those individual cards. Well, this does that job plus it’s at least half the thickness of a Ridge Wallet.

By the way, I did try a handful of other front pocket card wallets when that world was introduced to me. The card holders that pop your cards up in a fan like configuration with a push of a button were cool! I did enjoy them for a time but ultimately it was just too thick. Especially if I’m complaining about the Ridge Wallet being too thick then you know I can’t be using those other types of wallets.
Turning Focus
Clearly my wallet game has been the main focus of the my over all EDC. But that’s not due to a lack of trying, back when I researched key organizers there really weren’t many options besides your typically key ring. This whole world of EDC is another level that is seemingly bringing the demand for some of these newer products that have been coming out to organize and minimize people’s daily drivers. Outside of my cell phone, which goes in my right people. My left pocket only contains two items: my wallet and my keys.
Since my wallet needs have been meet (for the time being), I’ve slowly been discovering a lot of content creators and websites decided to minimalist EDC. Turns out, there has been some focus on key management to my surprise. One of the general principles I try to do every so often is re-evaluate every item I’m carrying and decide if I still need to keep it or not. This helped reduced the number of cards I was carrying in my wallet and also keys I was holding.
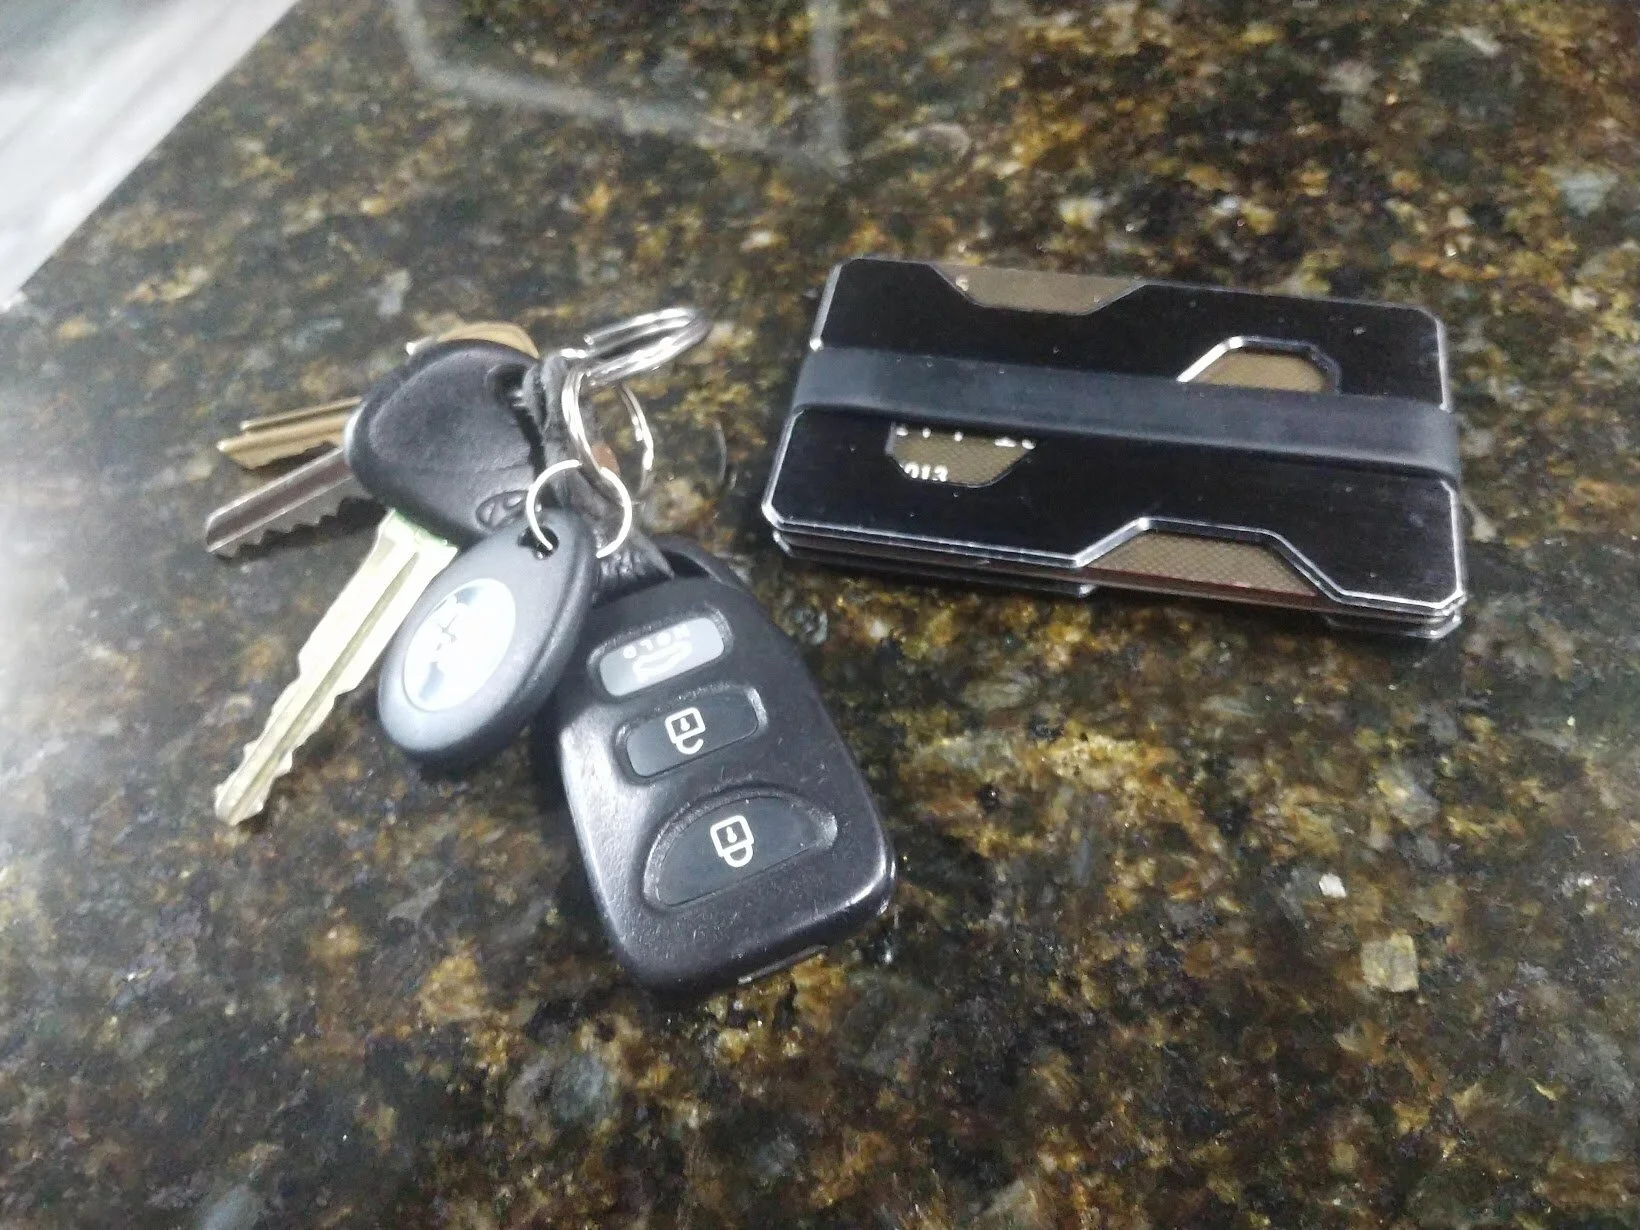
Here is my current setup:
Car key
Car fob
Condo home key
Condo mailbox key
Condo fob
So these five items I simply must have. Though there are some opportunities to improve or perhaps condense. One of the issues that has always bothered me about keys in generally is the jingling and how sloppy they looked when on a table or being presented. I’ve never been able to find a solution for it but every few years I would do some research then recently I started to see some decent results.
Different Key Holders
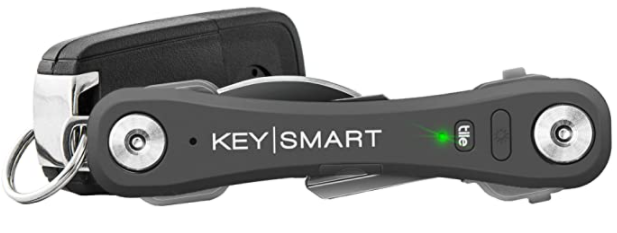
KeySmart was the first shinning light into the world of key organizers that caught my eye. I was tempted to get one because it looked like exactly what I was after but then I remembered my lesson from before and noticed how thick it was. On top of this, I don’t have just keys as I have two fobs and my car key is bulky to fit cleaning in this; so I needed a better solution.
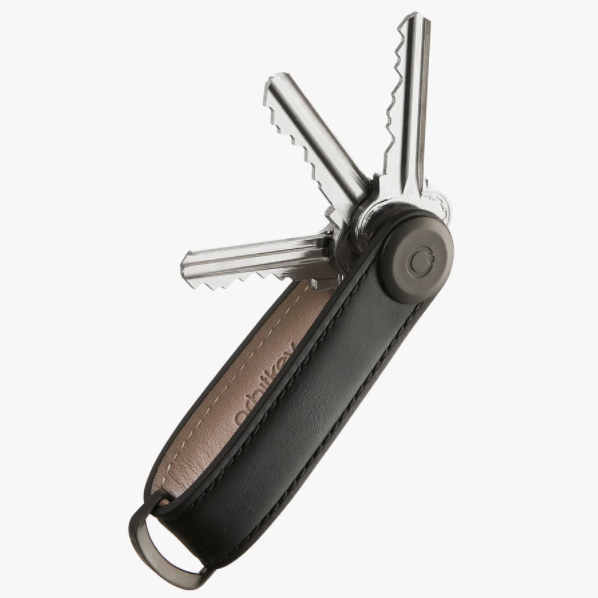
Orbitkey was the next key holder that caught my eye and is rather popular in the EDC world. After watching a few videos and reviews I was considering getting it. However, it had a few draw backs, I still had to keep my car key, car fob, and condo fob hanging on their key ring while the rest of my keys go in the product pouch. Eventually, I came to terms that there’s simply nothing I can do with those three items hanging freely unless I go a crazier route and get a third party car key and car fob combo unit. This usually would require me to upgrade my car to a remote start system which comes with one of those keys that are more popular in cars now-a-days. But for my 2010 Hyundai Genesis Coupe, it was going to be about $500 to accomplish that.
The Decision
I was about to pull the trigger on the Orbitkey holder when I came across Jibbon. They’re an Australia company and I’m sure they came after Orbitkey as Orbitkey has been around for a while and it looks like they took the Oribitkey holder concept to another level. Two main reasons why I find the Jibbon more appealing than the more popular counter part:
The Jibbon is tool less. If I’m out and need to take a key out for some reason I most likely won’t have a tool to open my Orbitkey, even though a flat screw driver or a quarter will do. On the end of both sides of the Orbitkey it has a seemingly plastic or metal circle which themselves might scratch in my pocket but on top of that because they are outward facing if I’m using a flat head screw driver to open it and close, it’s going to eventually wear down and be visually shown. The imperfections would bother me.
The locking mechanism is on the inside on the Jibbon, which makes it even more sleeker. It’s a really strong spring snapping mechanism that it’s using to lock your keys in place. So the surface is smooth and has a cleaner look.

So I purchased the Jibbon and had some time ruminate on my key setup. As I mentioned earlier, I considered (and still do) one of those remote car starters or push starter kits for my car. They have some sleek ones now like from Compustar that will replace my car key and car fob into just a fob that I can keep in my pocket the whole time. I just walk up to my car, a proximity sensor will detect I’m near by and open my door. Then I can simply push start my car without ever getting my keys out of my pocket. This isn’t ground breaking and a lot of newer cars have this now-a-days, even my Mazda 6 from 2009 had a keyless entry and start but for my 2010 Hyundai, it just wasn’t in the cards when it came out.
An unexpected discovery
As I mentioned earlier, I had some time before the Jibbon would ship from Australia (ended up taking 17 days) so I decided to visit home depot with the goal of copying my keys into maybe smaller foot prints or color silver or even black. I got there and immediately went up to the self minute key machine, the choices were colorful designs - which is not what I wanted. So then I went to the next area where you can select from a larger selection of key blanks and have them do it for you. Unfortunately they did not have any black key blanks but they did have silver so I decided to settle on that… for now. I at least wanted to not have a gold key, so I considered this a win.
Then I noticed something, they not only copy keys but apparently they can copy fobs, the devices were $25 USD. My condo charges $75 to replace them so I was all for this. The company is called InstaFob and which seems is a part of or a partner of minute key and/or homedepot. Regardless, this was a great opportunity so I got one. Then I noticed it… they have a sticker fob you can copy on to. It’s so thin it can be used as a sticker. Immediately I bought it as I imagined I can simply stick it on the back of my car key to eliminate one another item on my EDC! Color me excited but only in black please.


The Project
I got home with my new silver key copies and fob ready to configure my setup a bit. The Jibbon was coming in the next day so I decided to wait till the next day to set everything up. As I was laying there thinking about how I’m going to set everything up I realized something that might be better than sticking the fob on the back of my car fob. What if it’s small enough to go inside my car fob and still work? This got my really excited that I swear that’s all I thought and dreamed about that night.
Below from left to right is my original condo fob, the newly copied stick fob, and my car fob.

So I went to work, opened up my car key fob and tried some configurations

I tried putting the fob on the bottom housing because it actually fits but the car fob wouldn’t close properly.
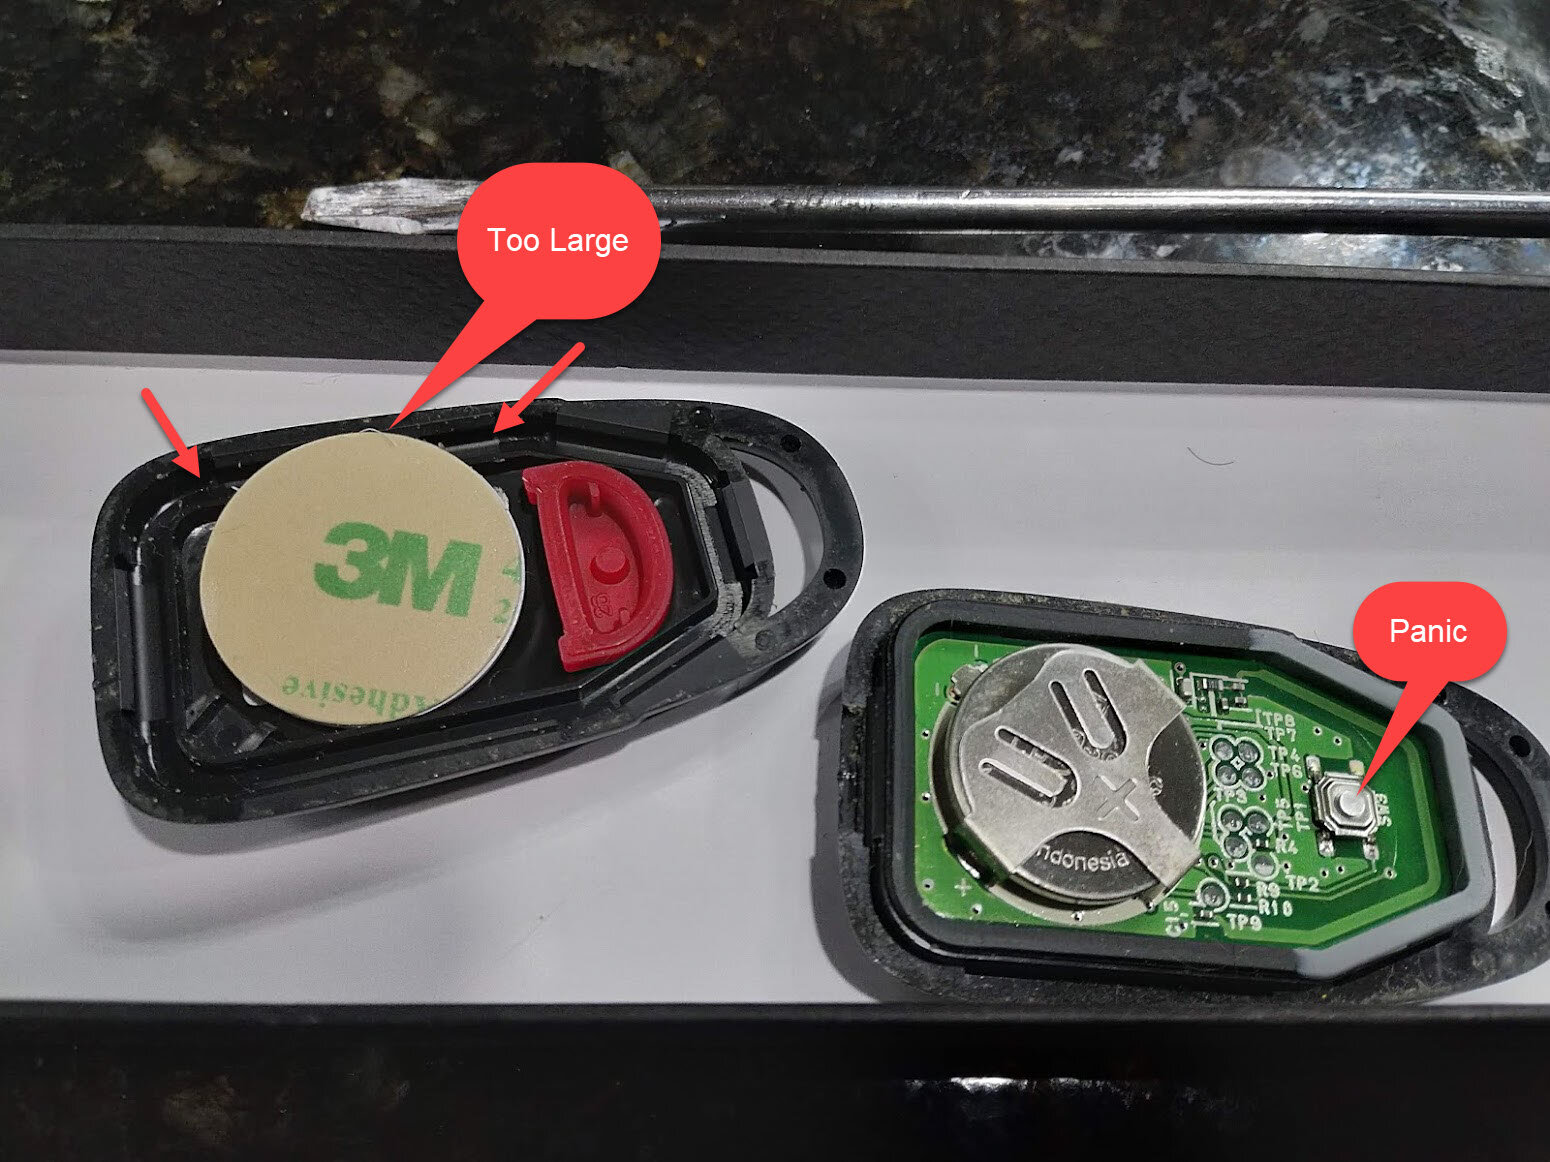
I then tried putting the fob above where the battery is. However, as you can see it was too large for the housing.
I even tried to level it out by adding a thick piece of tape then the fob in the back but it ended up being too thick.
I felt pretty defeated because not only was I dealing with a length problem, I was surprisingly dealing with a thickness problem too. I decided if I’m going to get this thing in here the best spot for it is going to be above the battery. The housing above the battery has a lot of unnecessary plastic that I can dremel out.

Unfortunately, I do not own a dremel. So I contacted some friends and found a friend that has one but he wouldn’t be available until a few days. I knew what I must do…. however, before I took this into my own hands I decided to see if they have a key fob shell for my car fob. And they did! right on Amazon.com a pair for $8.99. This way, if I end up screwing things up I could at least swap out the key shell and all is forgiven. So, I grabbed my knifes and went to town.

I spent the next couple days failing over and over cutting and shaving the car fob so I can fit the fob in but still no success. Due to the lack of a dremel I even resorted into using a lighter to melt some of the plastic to make it easier to shave as this would be on all the inside and unnoticeable once closed. However, it still did not do the trick; I knew I had to cut the fob and risk damaging it but it’s just too large to fit. So I looked up online on where the circuits usually are. I found on a site called fobcopy.ca a picture that gave me some reassurance to do some trimming on the fob itself, assuming it had some buffer room to trim.

I trimmed the sticker fob carefully all around but still it all ended up in failure. Here is the result of that failure.

A step back... but a new contender appears!
I decided that I would simply wait for the car fob shells to arrive then I would borrow a dremel and do this the right way as I was convinced I can fit this stupid sticker fob within my car fob. When the car fob shells arrived I noticed something right away, the insides was a lot more hollowed out and cleaner. I knew this was already a good sign. So I grabbed my spare car fob that’s not burnt to hell for comparison.

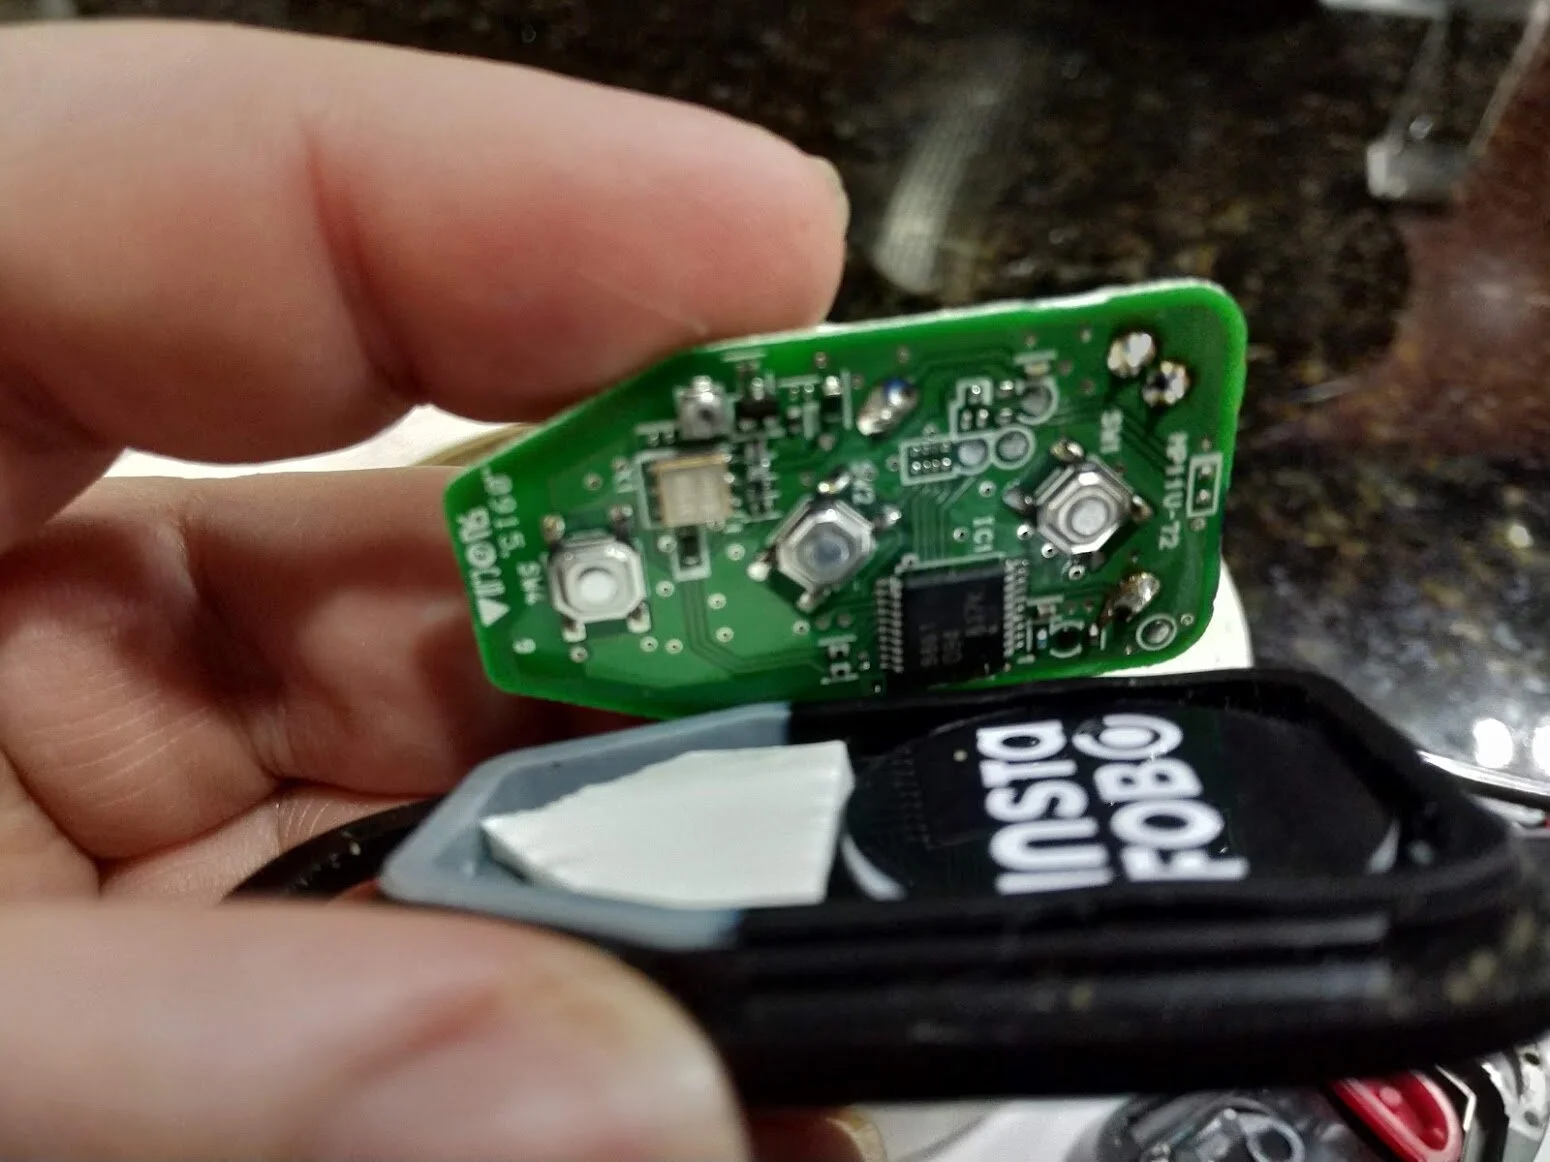
As you can see there are some other differences too like the panic button housing and the walls are thinner and even cut on the new one. So I decided to take my trimmed stick fob (which I had been testing to make sure it still functions) and toss it in there.

I couldn’t believe it. It fit like a glove. I thought no way would this thing close… and it did!!! I couldn’t believe it. It turns out all I needed to do was just buy a car fob shell replacement and trim the fob and little (maybe not even!) and that was it! So after several days, I was finally done. I now have a Jibbon that holds two of my keys (condo door, condo mailbox) and then the ring on the Jibbon to hold my car key and my car fob + condo fob combo!
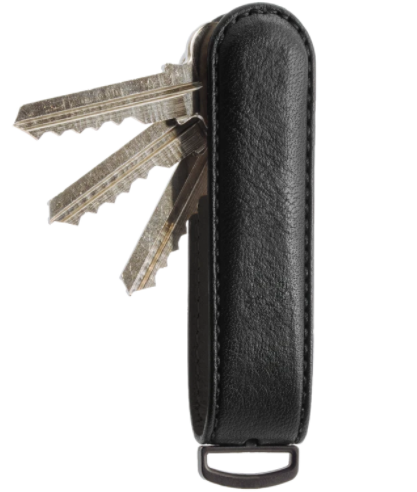
The Final Product
Nothing left to say so… here are some pictures of my EDC!